

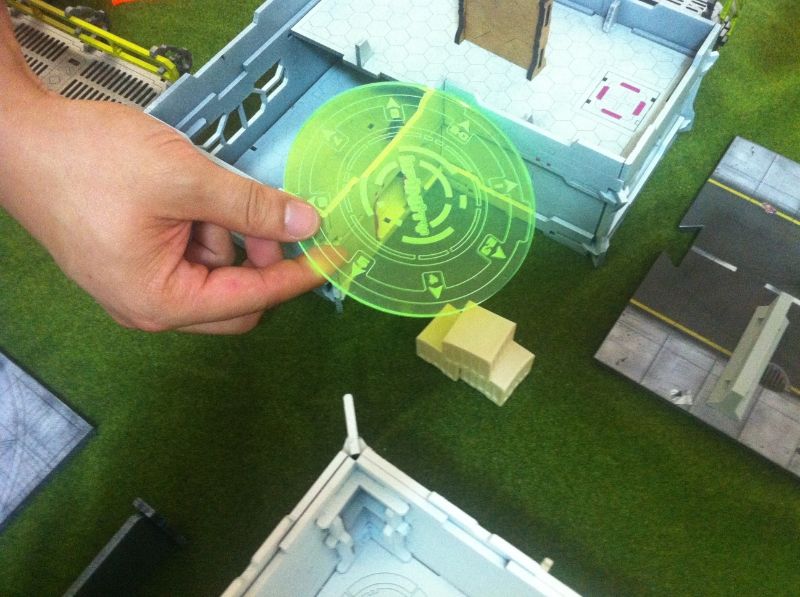
For the uninitiated, the starter scenario is based around the capture of three objectives spaced equally apart in the centre of the battlefield. Each objective is worth a whopping 75 points. Killing enemies also nets you points but it is secondary to capturing the objectives. There is a 4 turn limit (maybe it's 3 turn limit) on the game meaning that hiding and sniping isn't really an option!
I brought my Morats and my mate (aka KFC) brought along his ALEPH. The EI and the AI were going to thrash it out!
Army Lists
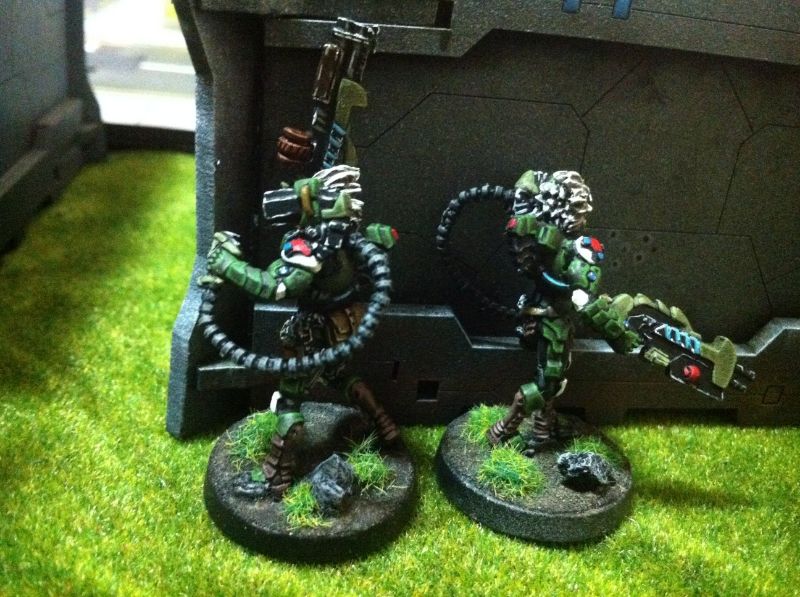
"217th Expeditionary Regiment"- Morat Aggression Force: 160 points.

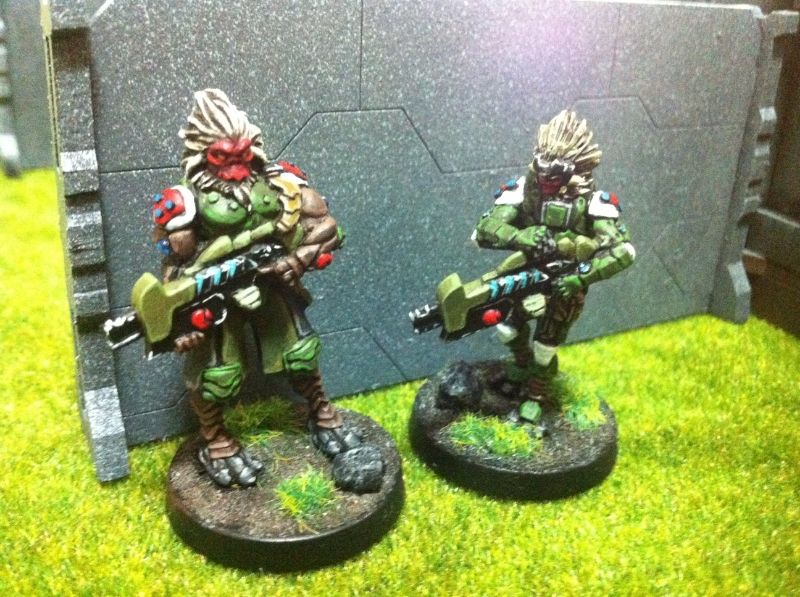
2x Morat Vanguards with combo-rifles. - Trajan & Marc Antony
1 Yaogat with combi-rifle and panzerfaust. - Octavian
1 Yaogat with spitfire (Lt.). - Caesar
1 Yaogat with combi-rifle. - Brutus
1 Yaogat with shotgun and panzerfaust. - Crassus
I wish I had a plan for selecting what models are shown- but really it was just what I've got painted so far. It'll have to do!
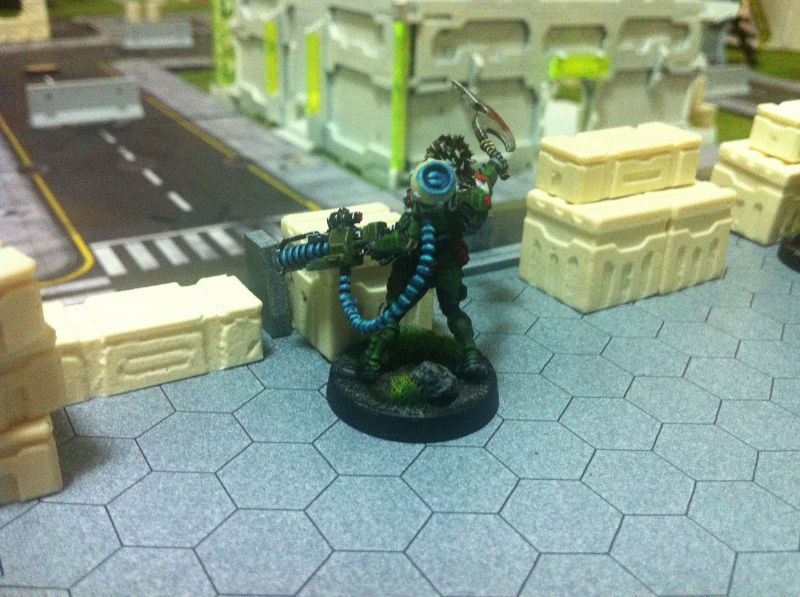
ALEPH Myrmidons: 160 points
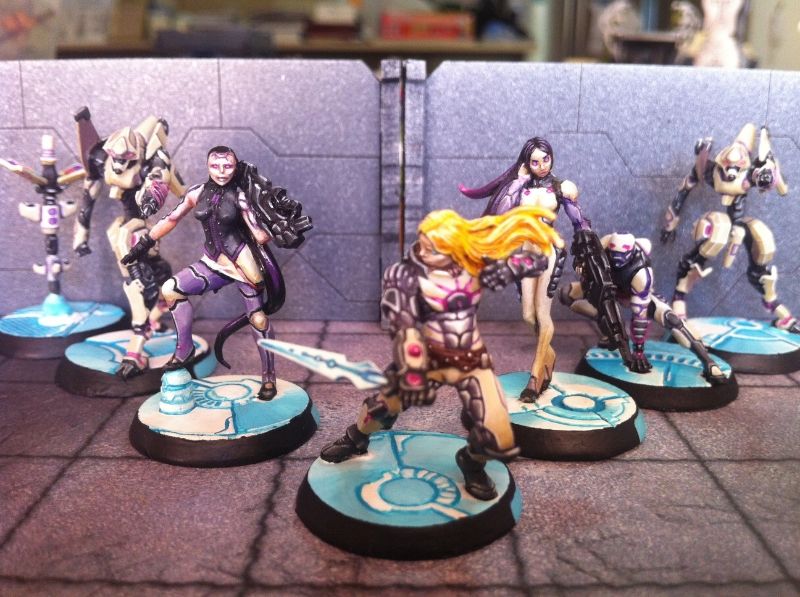
1x orders "Stick"
2x Tacbots armed with grenade launchers
1x Hacker with combi-rifle (proxied by Deva Functionary with black corset)
1x Myrmidon Officer (proxied by Achilles) - Diet Achilles
1x Myrmidon (proxied by the Deva Functionary in white)
1x Daysu sniper armed with combi-rifle.
One of them- I can't recall- is a forward observer.
MAP
 |
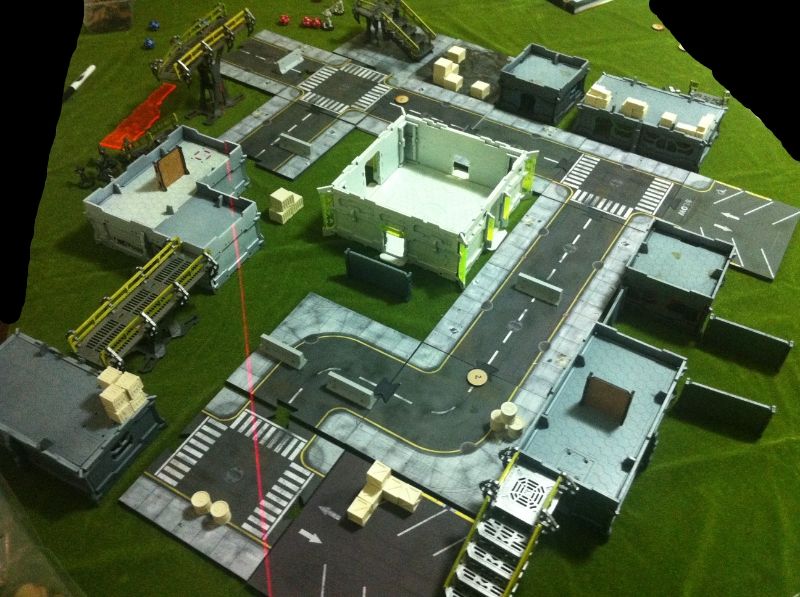
| View from EAST heading WEST |
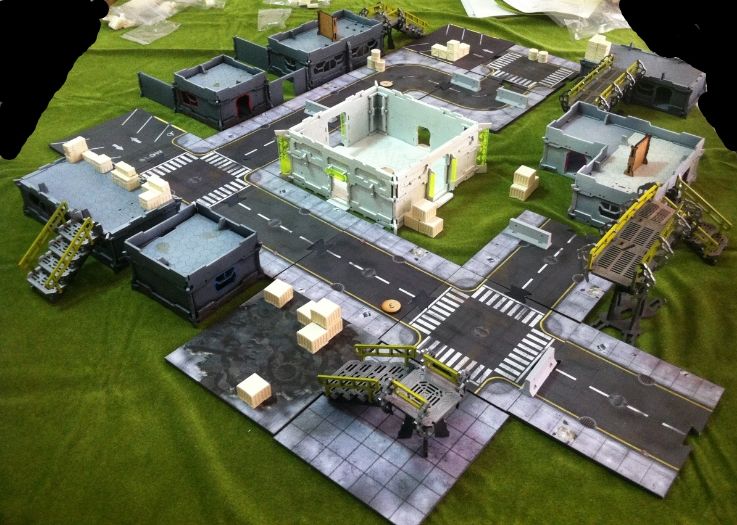
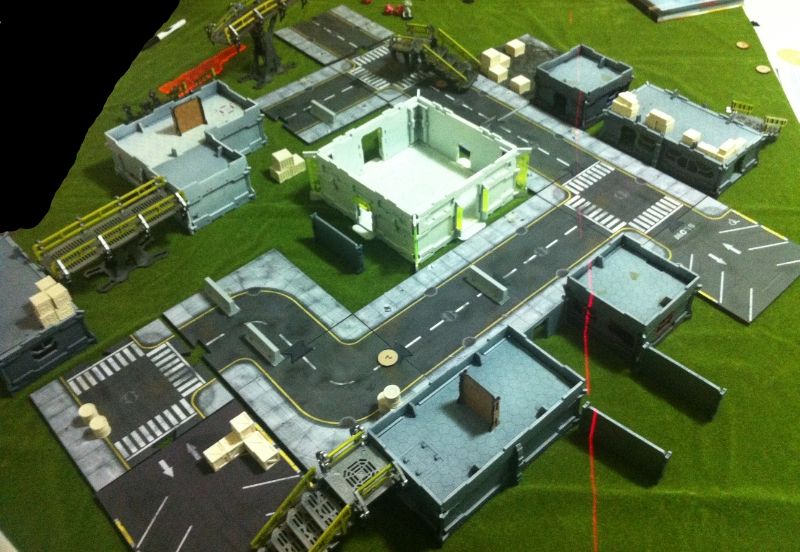
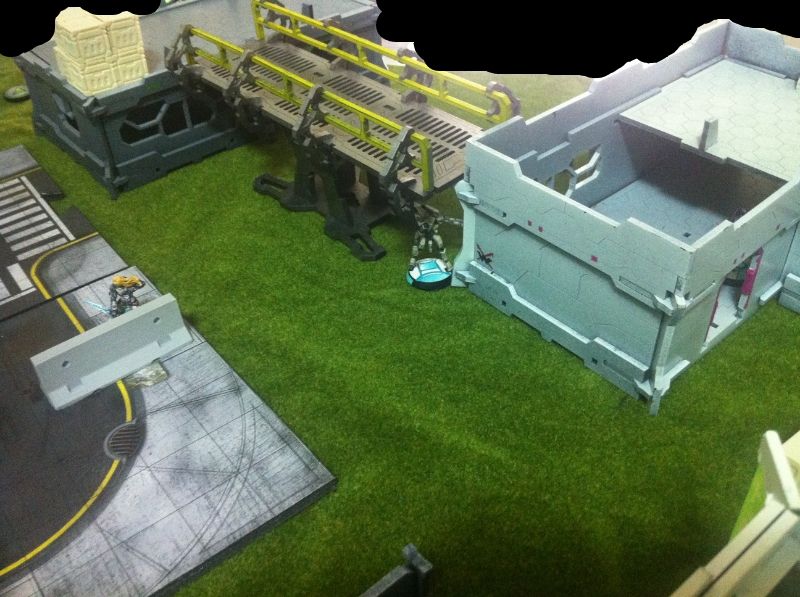
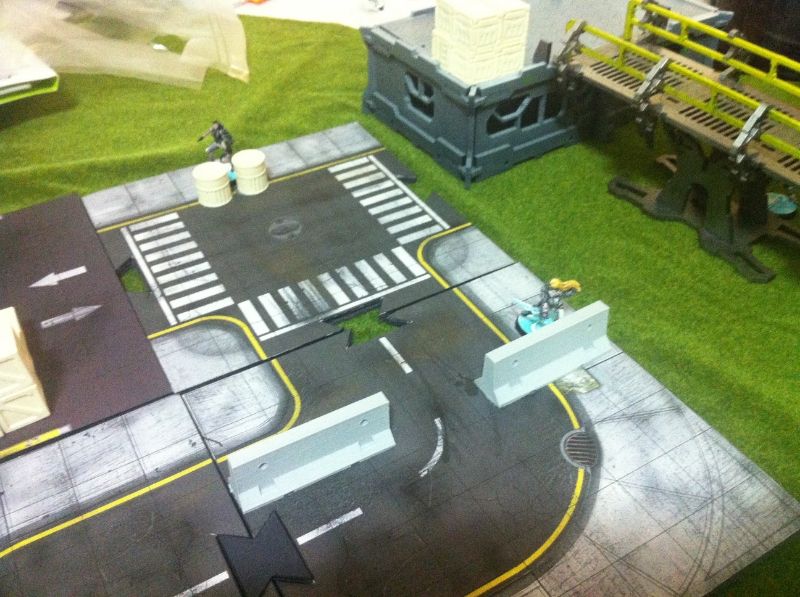
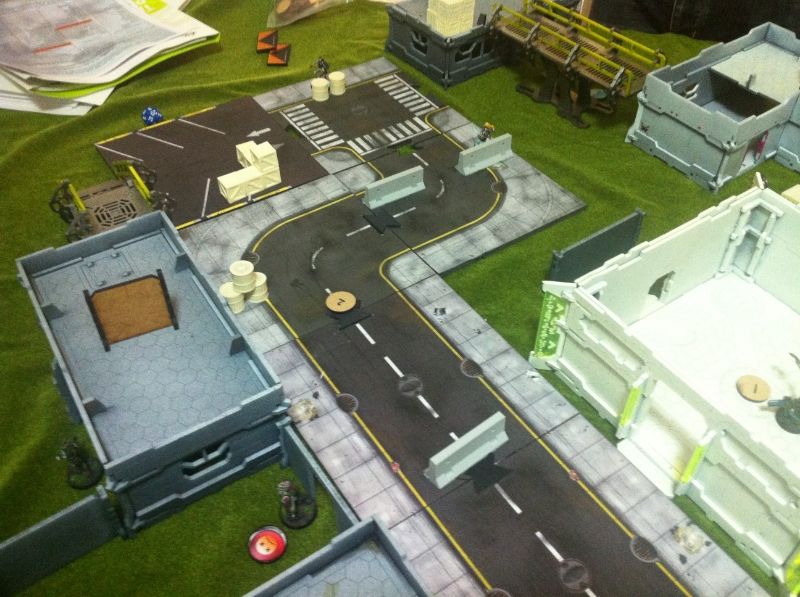
There wasn't a lot of thought going into the map set up. There were plenty of buildings my mate had made and spray painted and we wanted to use them. I also had a lot of road map tiles which I've used for 28mm zombie apocalypse RPGing (which my mate also made!) and I kind of put them all over to make the town look a bit less random.
Right in the centre is a white 'Medical' building.
The three objectives can be made out- Obj. ONE on the western road, Obj TWO in the medical building, Obj THREE just in front of the watch platform.
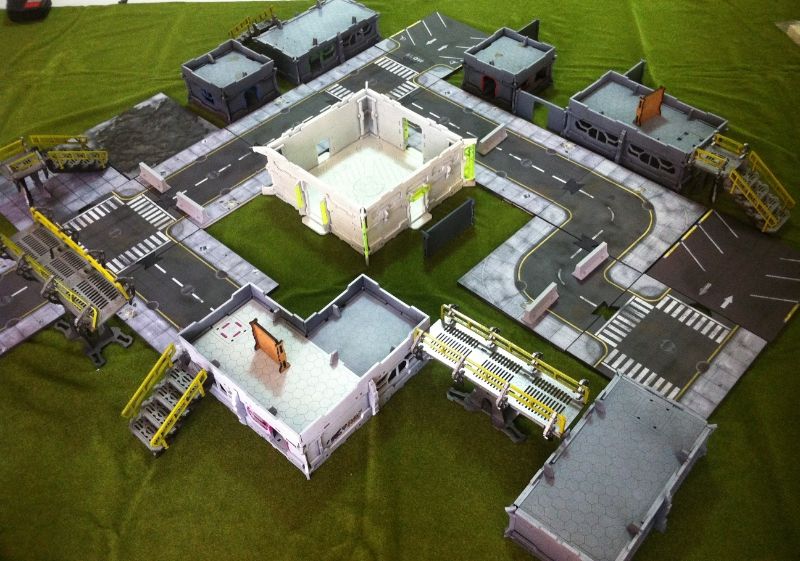 |
| View from NORTH heading SOUTH- BEFORE we started placing scatter terrain. |
 |
| Northern deployment zone marked out. |
 |
| Southern deployment zone marked out |
KFC elected for the northern table edge and made me deploy in the southern edge. I'll add in here that I didn't take any photos of the ALEPH deployment so my apologies!
 |
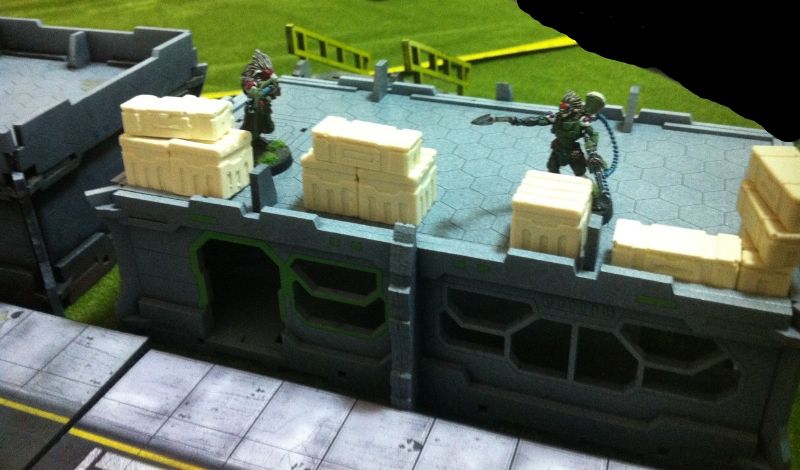
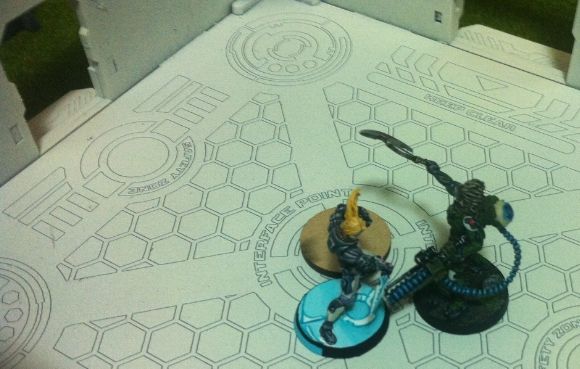
| Yaogat Spitfire and Vanguard rifleman overlook the western road and the medical building. |
I setup my Yaogat Spitfire and Vanguard buddy on the central building of my deployment zone. It overlooked the medical building and had good fields of fire down the western road. This would serve as my SBF (support by fire).
Not knowing what a Spitfire was, I thought it was some high-powered long range weapon like a MAG58 (M240B for you US types). Little did I know, it's actually more like an assault rifle on steroids- effective range much less than what I had imagined. This would be important later.
I paired up the two Yaogat with panzerfausts to the right of them- I was planning to move them to cover the eastern facing of the medical building.
 |
| Crassus and Octavian positioned on the eastern flank. |
 |
| Marc Antony and Caesar offering Support by fire! |
 |
| Western placement of Brutus and Trajan. |
 |
| Trajan and Brutus- Ready to sneak around the wall and assault the nearby objective. |
 |
| Caesar and his Spitfire ready for action…. sort of. |
TURN1- MAF
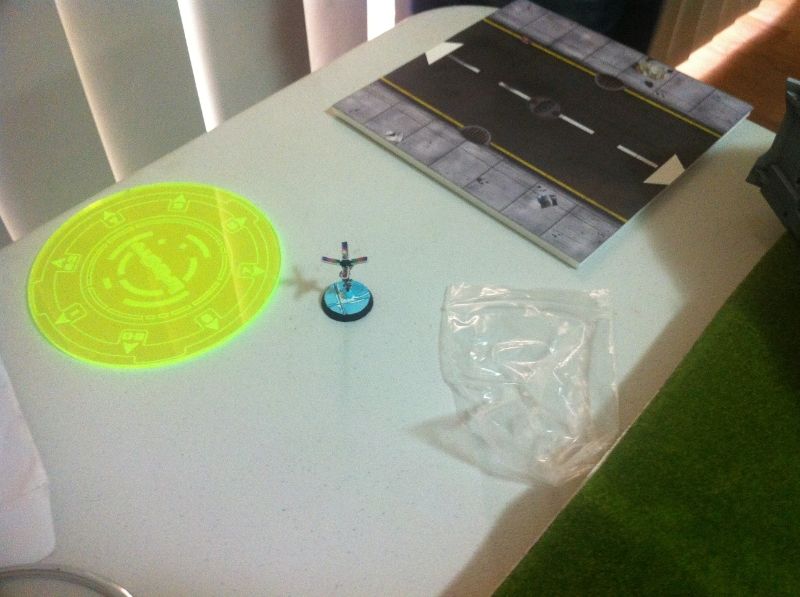 |
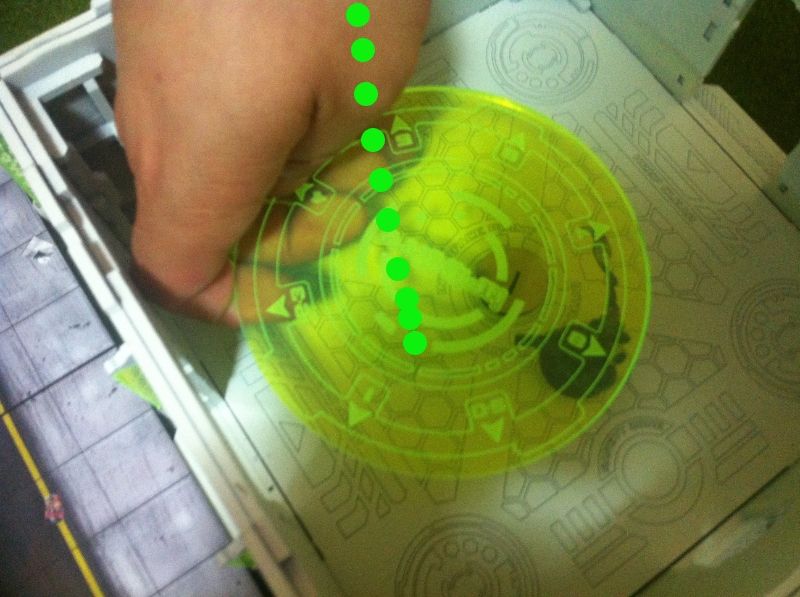
| Bad luck Mr KFC! |
The ALEPH side tried to Airborne Deploy it's Order Stick into the ALEPH deployment zone- safe from Morat guns. Unfortunately it scatters right off the table! One less order for ALEPH and not a shot has been fired!
 |
| Keeping a watchful eye |
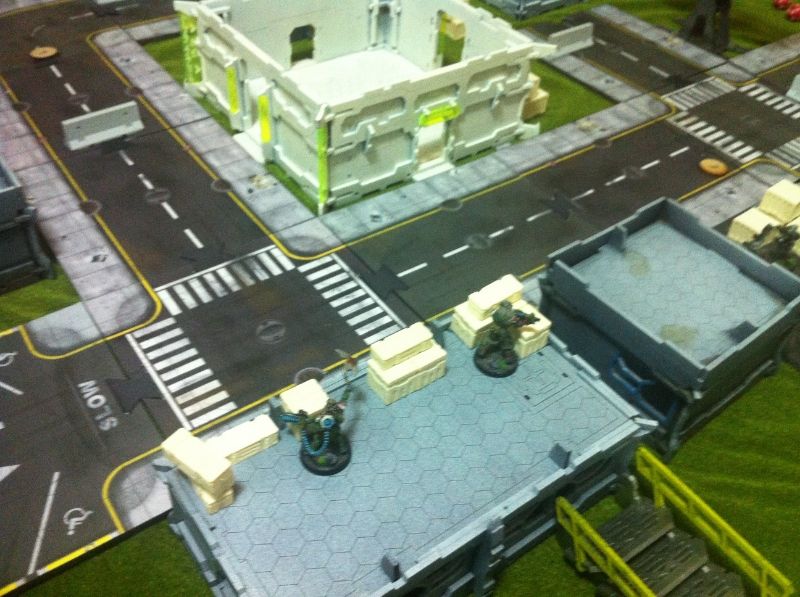
 |
| Crassus and Octavian take up position in the eastern crates |
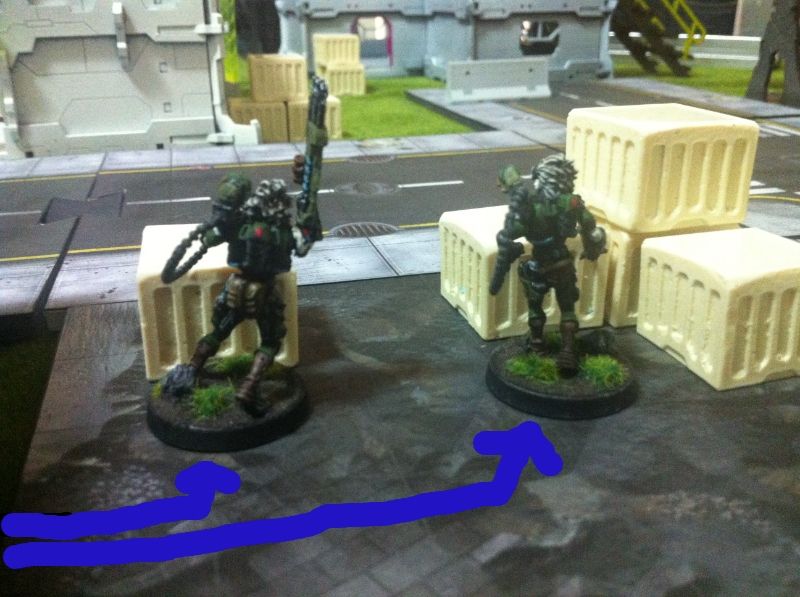
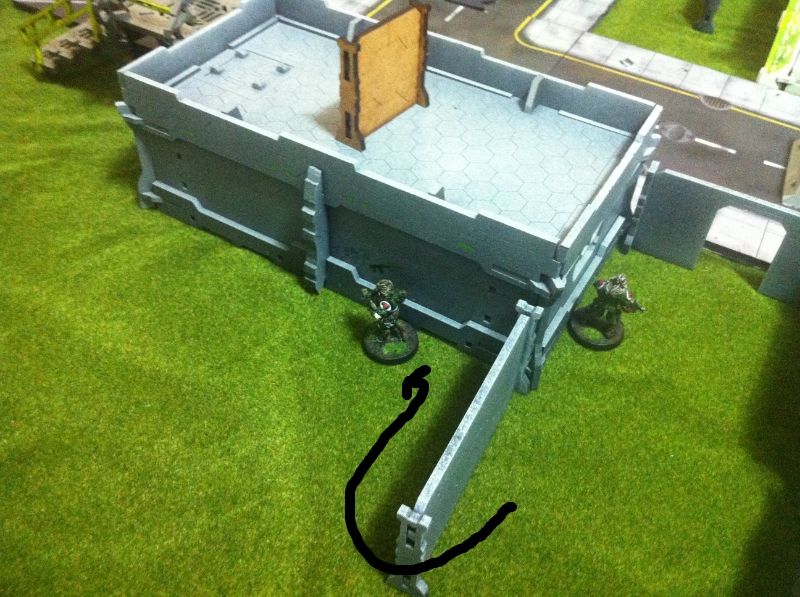
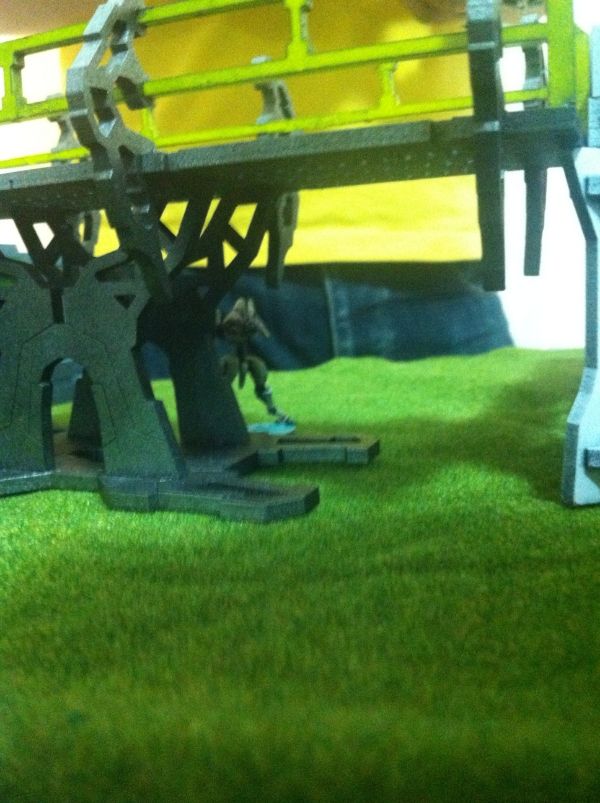
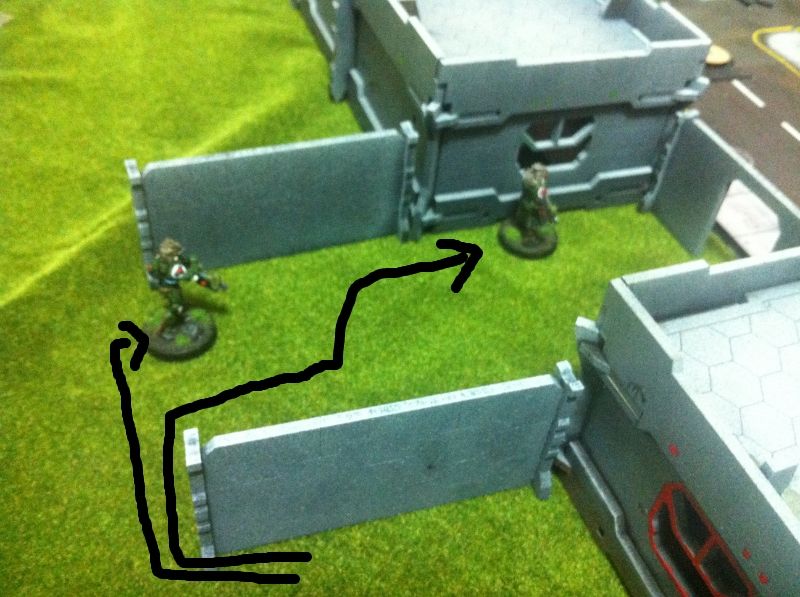 |
| Brutus and Trajan sneak around the wall to prepare for a move on the nearby (exposed) objective |
TURN 1- ALEPH
 |
| Myrmidon Officer- Diet Achilles advances to cover. Tacbot 1 sneaks a look around the corner. |
 |
| Tacbot 1 sneaks a peek. Tacbot 2 remains in cover by a pylon. |
He spies Octavian and the two fire on each other! Grenade launcher versus Panzerfaust.
 |
| Octavian launches a shoulder mounted panzerfaust at Tacbot 1 in ARO. |
 |
| Tacbot 1 lands a hit- but Octavian hits better! |
 |
| Hacker runs westwards to hide behind some barrels… |
 |
| ...Bringing her into line with Caesar and his spitfire! |
TURN 2- MAF
 |
| Caesar realises his crappo position and uses almost all the orders to get off the roof. |
A spitfire is an assault weapon, and once I realised that I pulled Caesar off the roof. I burned a tonne of orders to get him to back track, walk down the stairs at the rear of the building and then through the alleyway and then across the road to make it to the medical building.
 |
| Brutus uses up the last few orders to move around to the west… and badly out of position to support Trajan. |
TURN 2- ALEPH
Not a lot of photos here- and to be honest, my memory is a little vague.
 |
| Diet Achilles pops zero-V smoke! |
From his position behind a jersey barrier, Diet Achilles pops zero-V smoke over the north eastern corner of the medical building. Why? Because there is a Myrmidon trapped inside a building with my two Panzerfaust toting Yaogats pointing at the front door keeping him locked up inside.
It takes two goes (I think) before the smoke settles where it needs to settle. Taking that opportunity, the Myrmidon quickly darts out of the building and ends up hidden behind those three crates that you can see in the photo.
The final tacbot and the hacker lay down suppressing fire to restrict my future movement.
 |
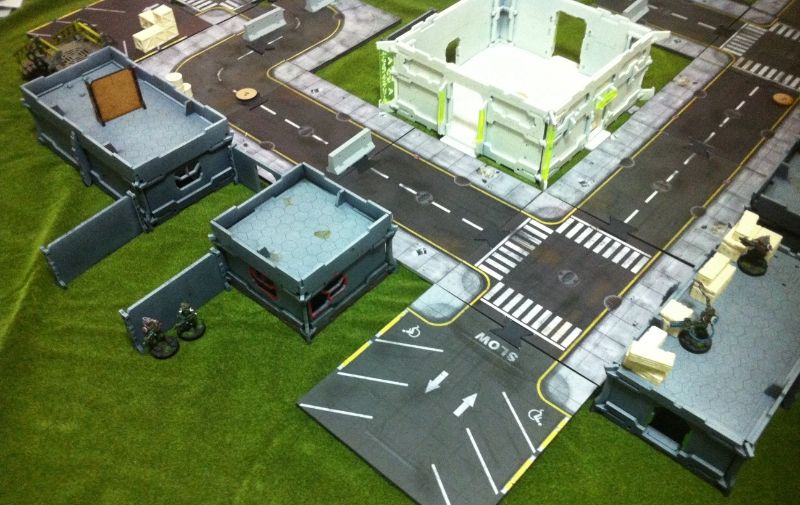
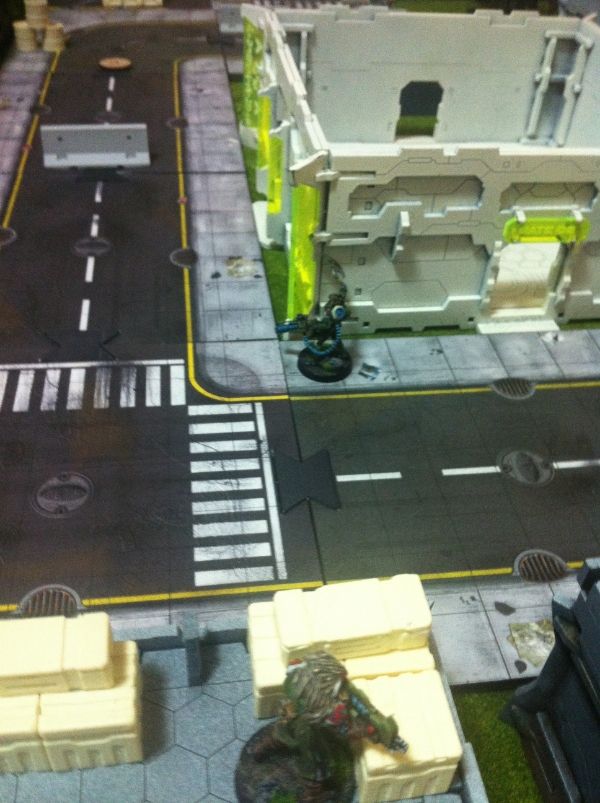
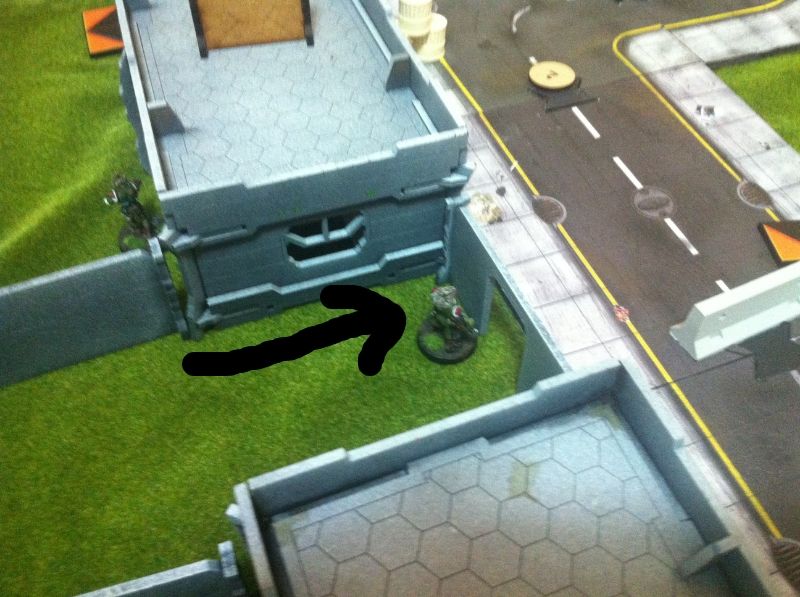
| Crassus runs forward to nab objective 3! |
 |
| Caesar gets greedy and moves into the medical building. Crassus moves to cover. |
 |
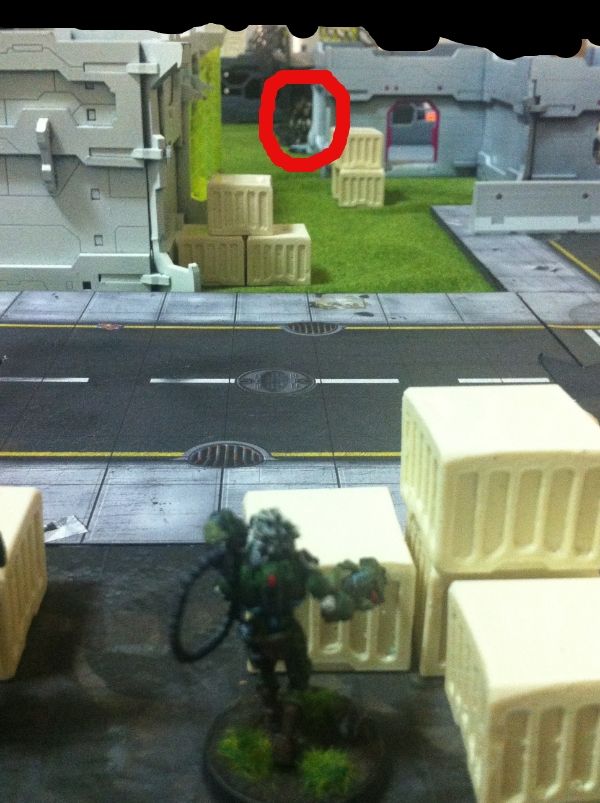
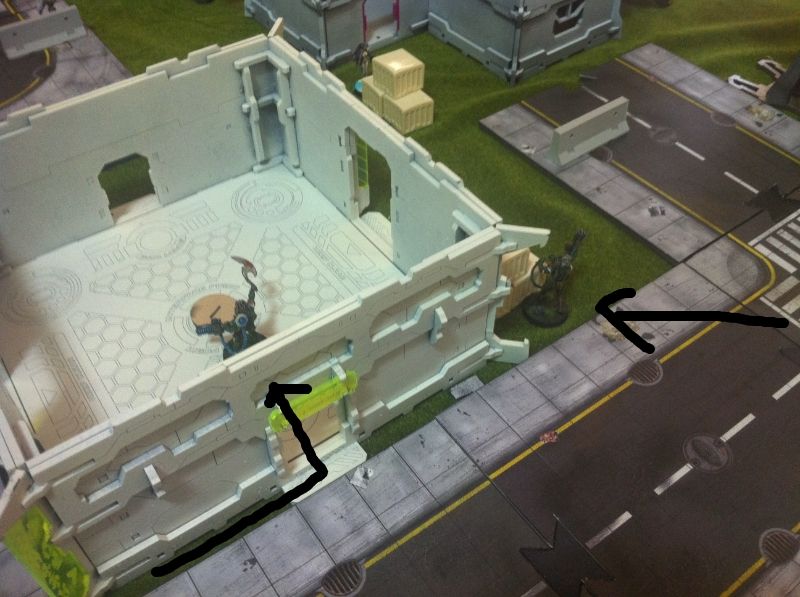
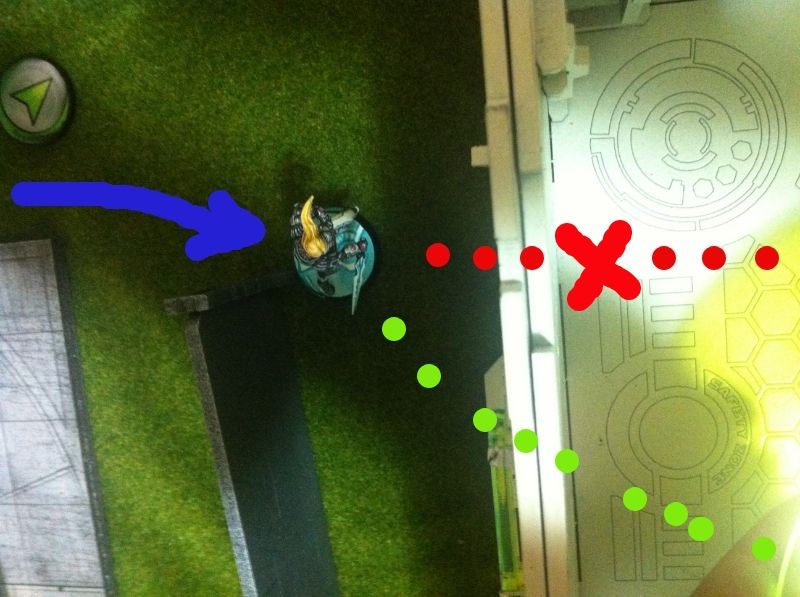
| Trajan moves up the alleyway entrance to see what he can shoot at. |
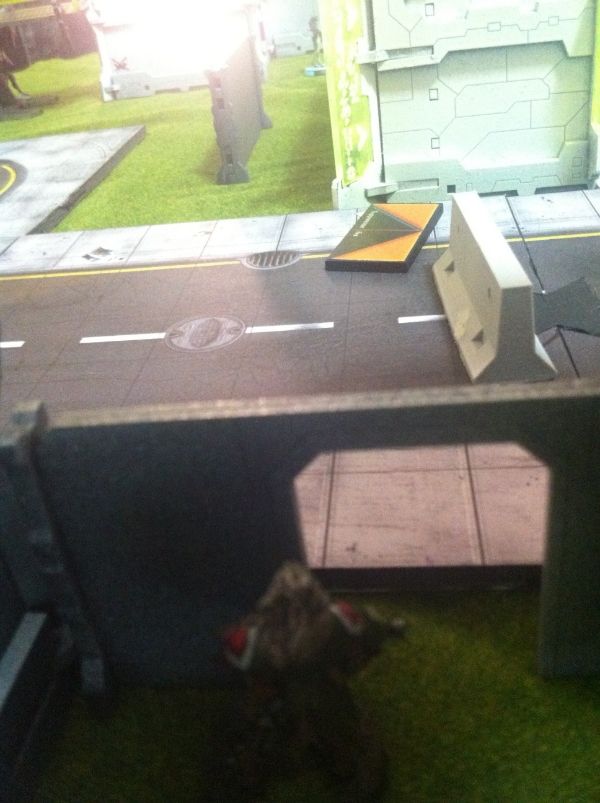 |
| Trajan sees a Myrmidon in the distance… with NO COVER!!! |
 |
| Trajan fires and hits with 2 of his 3 bursts. |
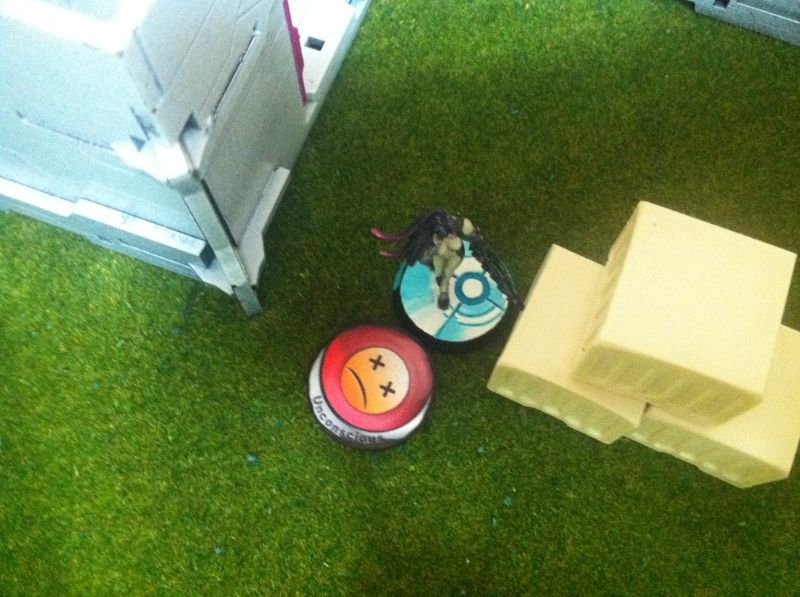 |
| Myrmidon collapses! |
 |
| Trajan suffers from a lot of ALEPH AROs and is himself taken out. |
 |
| Tacbot 2- hidden in the shadows, lands a hit on the Morat. |
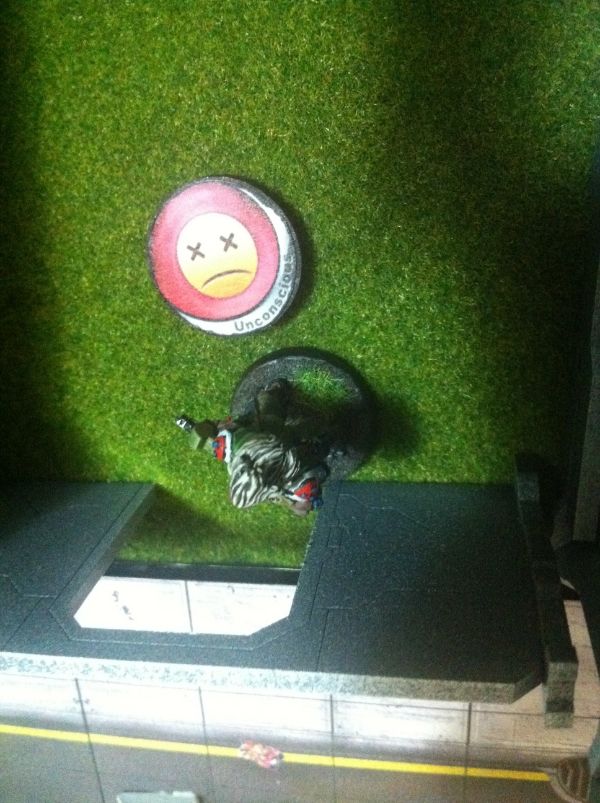 |
| Goodnight sweet prince! |
TURN 2 ALEPH
 |
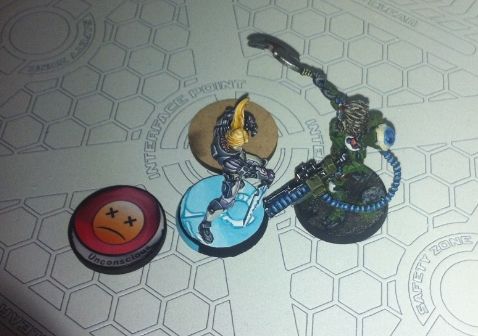
| The Daysu appears! And Crassus and his shotgun are facing the wrong direction! |
 |
| A burst from the Daysu puts Crassus down… Infinity armour rolls certainly aren't like Warhammer armour rolls! |
 |
| Diet Achilles moves towards the northern edge of the medical building. |
 |
| The smoke grenade toss is successful, blanketing the objective AND Caesar in smoke! |
 |
| Bellowing his war cry- Diet Achilles charges into the room… past the objective… and into Caesar!!! |
 |
| Martial arts level 3 means a first strike against Caesar. |
Caesar recoils from the hit- but his Yaogat armour holds!
Cursing in his alien tongue, Caesar brings his choppa down on the fierce human. He hits… he wounds….
 |
| Caesar's armour roll! |
… And Diet Achilles' armour caves in under the force of the blow.

With the ALEPH Lieutenant down- and having lost a Myrmidon and tacbot- and likely 2 objectives- we end the game.
VICTORY TO THE MORATS!!!
CONCLUSION & THOUGHTS
Really enjoyable game!
I really thought the Morats had the game after Crassus took the first objective and then Trajan nailed the Myrmidon lurking out of cover.
But fortune can turn on a whim and when Diet Achilles made it into the room with Caesar, I was like "Uh-Oh". Things could've gone very… very… badly! I got lucky however- and you know what, I'll take it!
The efficient use of orders really is key to Infinity. And in order to let that happen, having troopers positioned well is super important to minimise the orders wasted to get them into position. My turn 2 was almost entirely spent on getting Caesar into a position where he could contribute to the game. I had 2 models that did nothing the whole game- in Brutus' case on the western flank, he sucked up orders and did nothing. He would've been much better supporting Trajan's firefight with the Myrmidon and nailing those ALEPH AROing him. Of course, being 4-2 movement meant he was left behind and I didn't have enough orders to get him where he needed to be.
MAF Yaogats are great with MSV2 and panzerfausts. Excellent for ARO overwatch but their 4-2 movement leaves them behind in objective grabbing scenarios like this.
Overall- I enjoyed this game immensely.
P.S. I realise there must be stacks of errors in this game. Before the outraged spergs descend on my comments section, I'll remind everyone that this was GAME ONE of Infinity. Ever. That being said, I'd be delighted with some rules clarifications from more experienced players (i.e. everyone who's played more than 1 game of Infinity).
Until next time, Happy Gaming!


0 Yorumlar